The recent “upgrades” of Instagram has been a right nightmare. Since Instagram is now part of Facebook; they are trying to put everything under one roof so that you can manage Instagram APIs and other connection under the Facebook Developer account. However the whole arrangement is slightly dysfunctional. We were able to navigate this digital labyrinth and will share with you how we managed to integrate and get the “Short-lived” Access Token. The documentation provided Instagram and Facebook is non-existent and utterly useless.
Intended audience:- Web developers trying to get Instragram photos and show their websites
Pre-requisites:- (1) A facebook account that you control and (2) An Instagram account that you control
So here the steps:-
(1) Go to https://developers.facebook.com/apps/ and click on:-

(2) Click on “For Everything Else” – DO NOT click on the Business one.

(3) Choose a logical name for your app

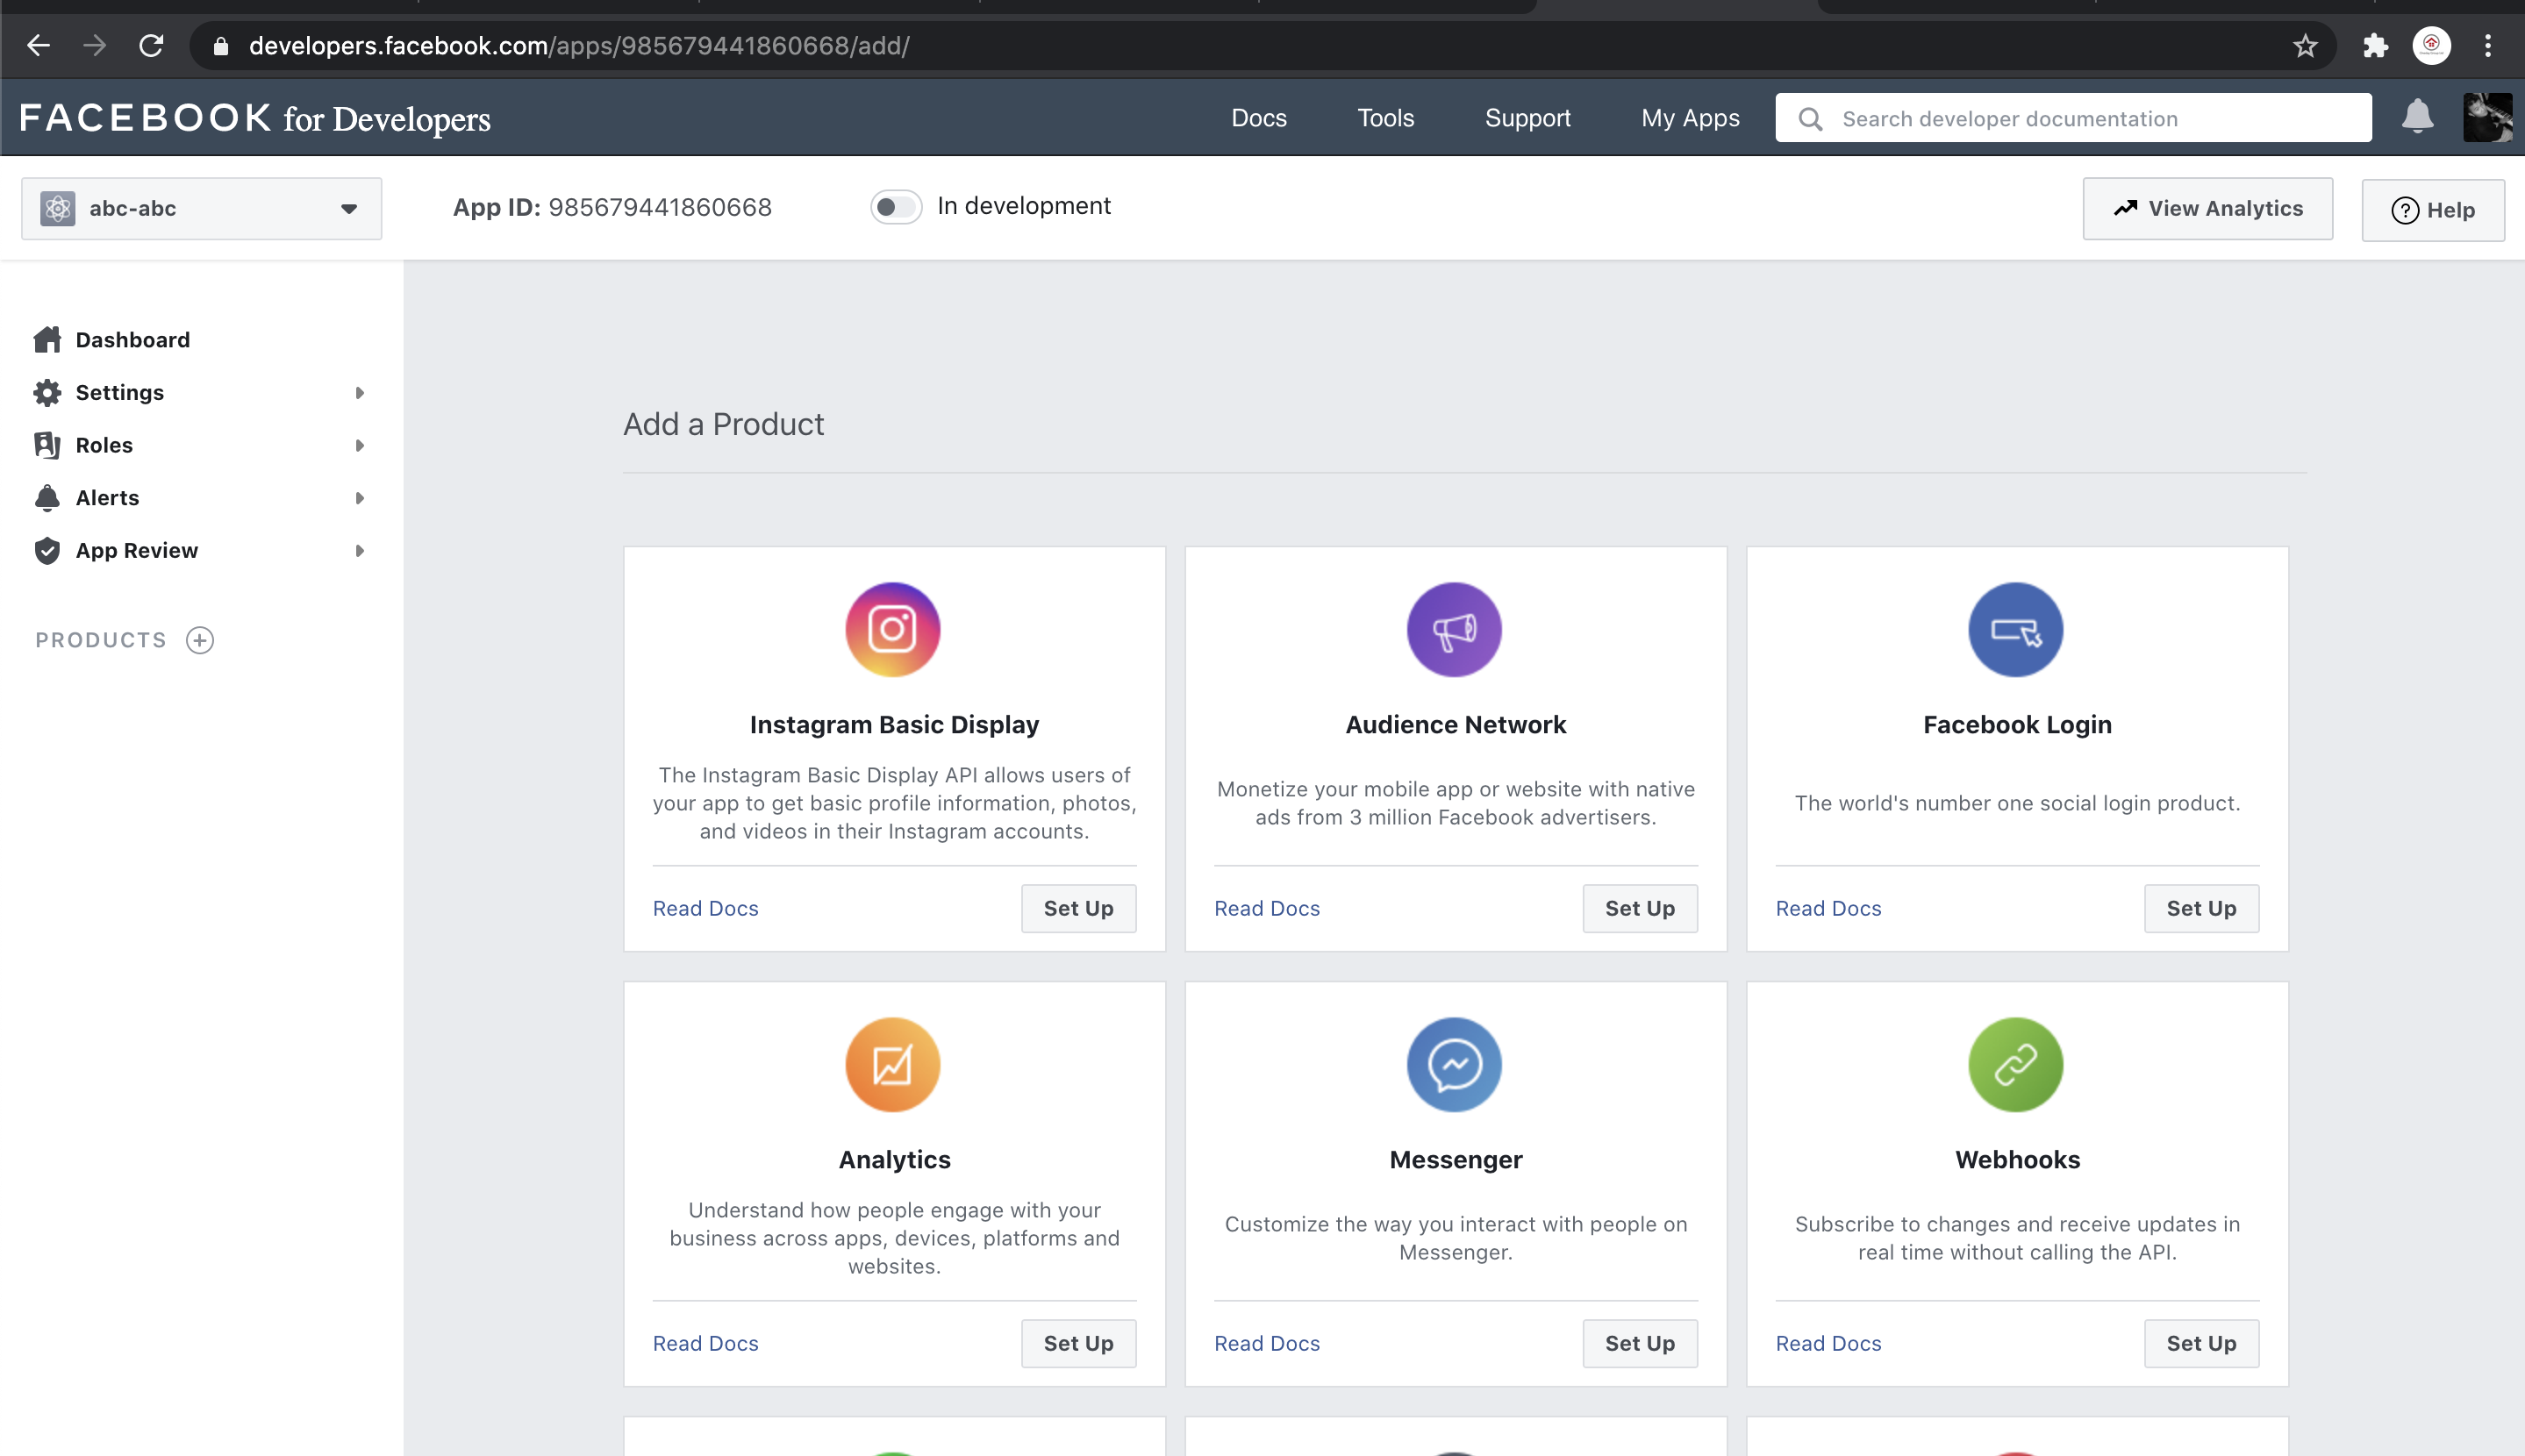
(4) Click on Instagram Basic Display

(5) Give it a name:-

(6) Go to the Basic Display tab on the left:-

(7) Scroll to the bottom and then click on “CREATE NEW APP”

(8) After that this section will have more options.
The “Client OAuth Settings” needs to go to a URL that you control. https:// is needed so you can’t use a URL without that. What will happen is that the Instagram will go to these URLs; in fact these URLs can be anything as long as they have https://; so I just put the URL of this url https://www.hodfords.com/ on there. The Data Deletion and Deauthorisation URLs can also be temporary ones too.

(9) Create a Tester account by clicking into “Roles”-

(10) Search for the Instagram account that you control:-

(11) Open a separate window and login to your Instagram account

and then click on the “settings” icon
(12) Choose Apps and Websites

(13) Approve the Tester Responsibility


(14) Generate Token
Hopefully by now the tester account is created and you can go to “Generate Token”

(15) Then you will need to authorise the integration through the pop-up


(16) Get Short-Lived Access Token

I really hope this article is of use to you; it took me a while to figure out how to do this; hopefully it would take you considerably less time.