URBackup is a great little backup system that runs cross platform from CentOS to Ubuntu to Windows. The latest version as of writing is 2.5.33 and can be downloaded from https://www.urbackup.org/. There is a lot of documentation on how to setup where the backup server has its own dedicated IP address but not so much for instances where the URbackup server is running behind a router whereby it only has an internal IP address.
This article describes a step-by-step guide to configure URBackup Server and its clients in a secure way.
(1) Download URBackup Server and install it on the server behind the router
There is plenty of resource on how to do this; so I will not go into details on how to do this.
Make sure that you use static IP address rather than DHCP; for instance if the internal VLAN is 192.168.10.x then make sure you hard-code the URBackup server’s internal IP address e.g. 192.168.10.100.
(2) CSF Firewall Settings on the URBackup Server
The URBackup server uses these ports:-
TCP 55413 – Needed for Communication with URBackup clients
TCP 55414 – The web interface dashboard
TCP 55415 – Used for Internet Mode (which is default set to OFF) – So switch this on if you need to use Internet Mode
in /etc/csf/csf.conf
Make sure that you have these settings:-
TCP_IN = “22,53,80,443,55414,55413,55415” // 53,80,443 are probably needed
TCP_OUT = “22,443,55414,55413,55415”
in /etc/csf/csf.allow
Add all of the IP addresses of the URBackup clients e.g.
111.222.111.0/24
(3) URBackup Client Setup
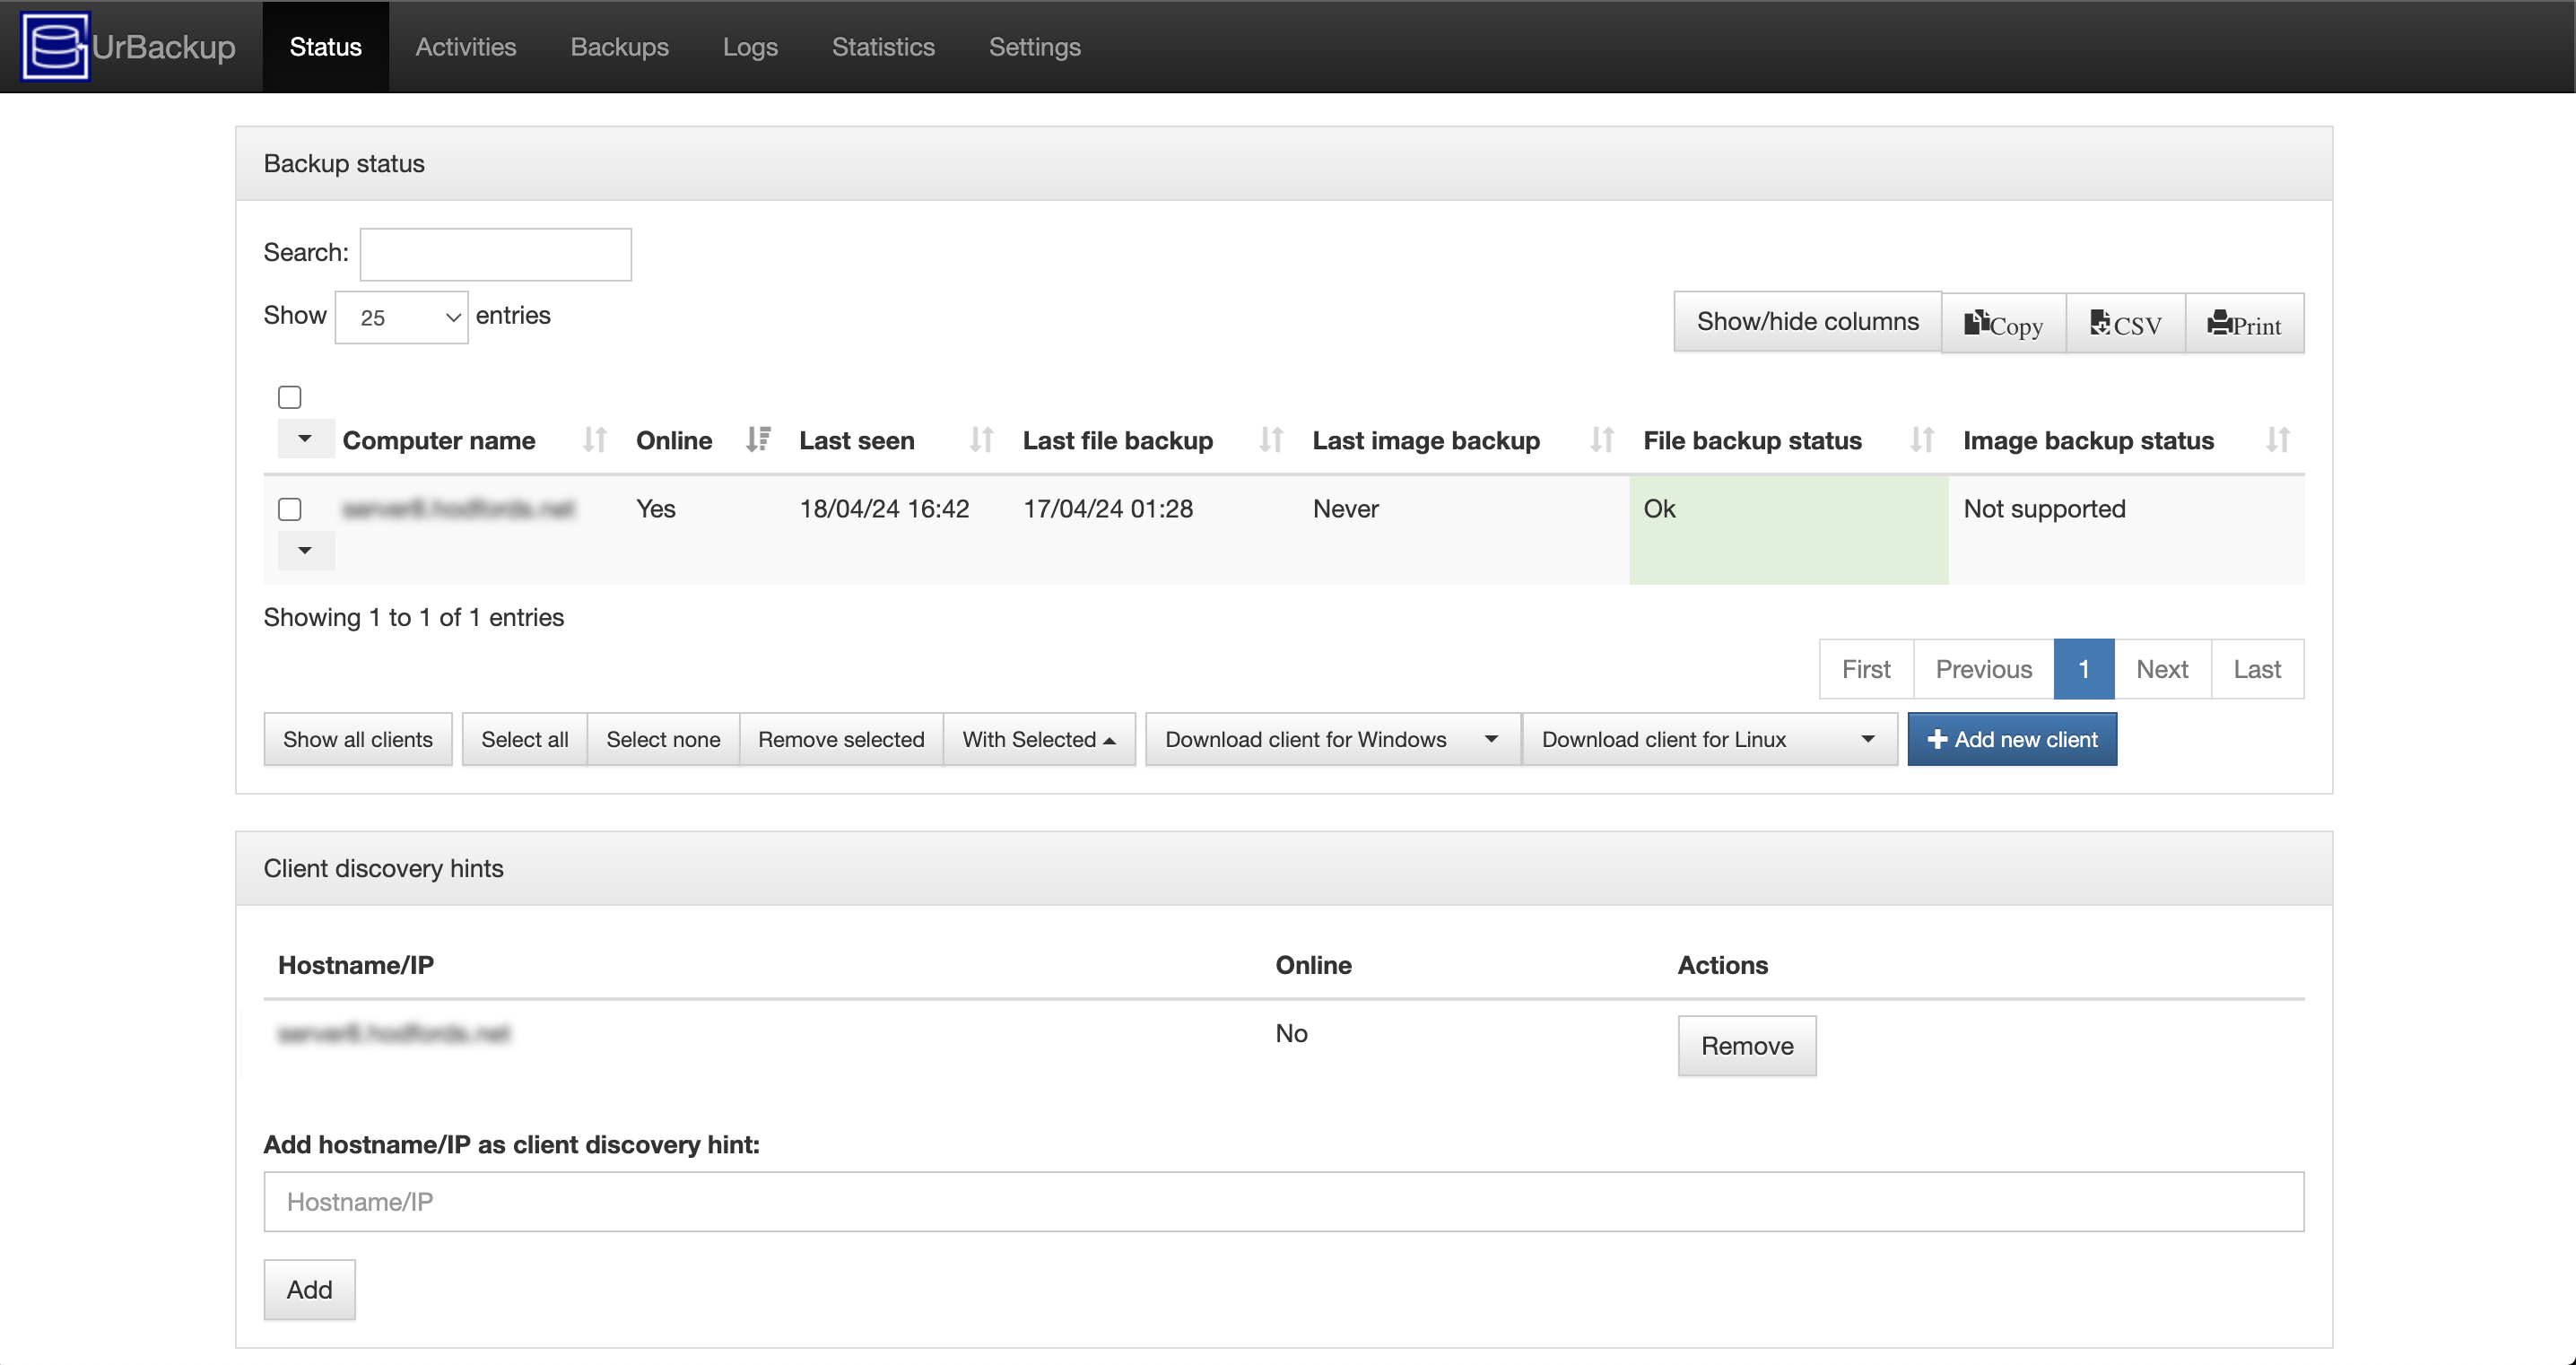
It is really important from a security perspective that you go to the URBackup Server dashboard and then add the hostname or the IP address of the server you wish to backup in this area on the home page of the dashboard.

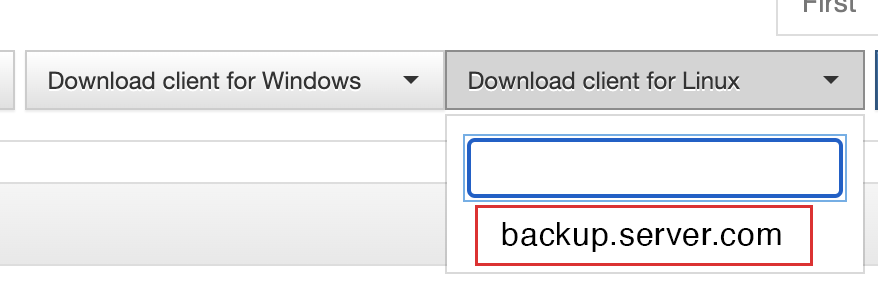
After you have added a hostname; you should download the installation software here:-

and then choose the client host that you just added:-

It is really important you download the client installation script here because the software contains unique authorisation code to ensure that only your URBackup server can connect with your URBackup client. Moreover it ensures that you do not have version mis-match problems.
(4) Installation of Client Software
For Linux clients, the downloaded file is usually called urbackup.sh; upload this file to the URBackup client server and then make sure the file is executable by running:-
chmod 755 urbackup.sh
And then executing the install script by typing at the terminal:-
sh urbackup.sh
If you have previously installed an older version of URBackup Client on this server; you will need to move this directory first (this applies to most linux flavours) and back it up before running the installation script:-
mv /usr/local/var/urbackup/ /usr/local/var/urbackup.20240418/
(5) Configure CSF on the URBackup Client
in /etc/csf/csf.conf
Make sure the following ports are open as these ports are required for the communication and backup of data to the URBackup server:-
UDP_OUT = “….35621,35623,35622”
Also in /etc/csf/csf.allow
Add the URBackup Server IP address
Once you restart csf with
csf -r


